Tuesday, September 17, 2024


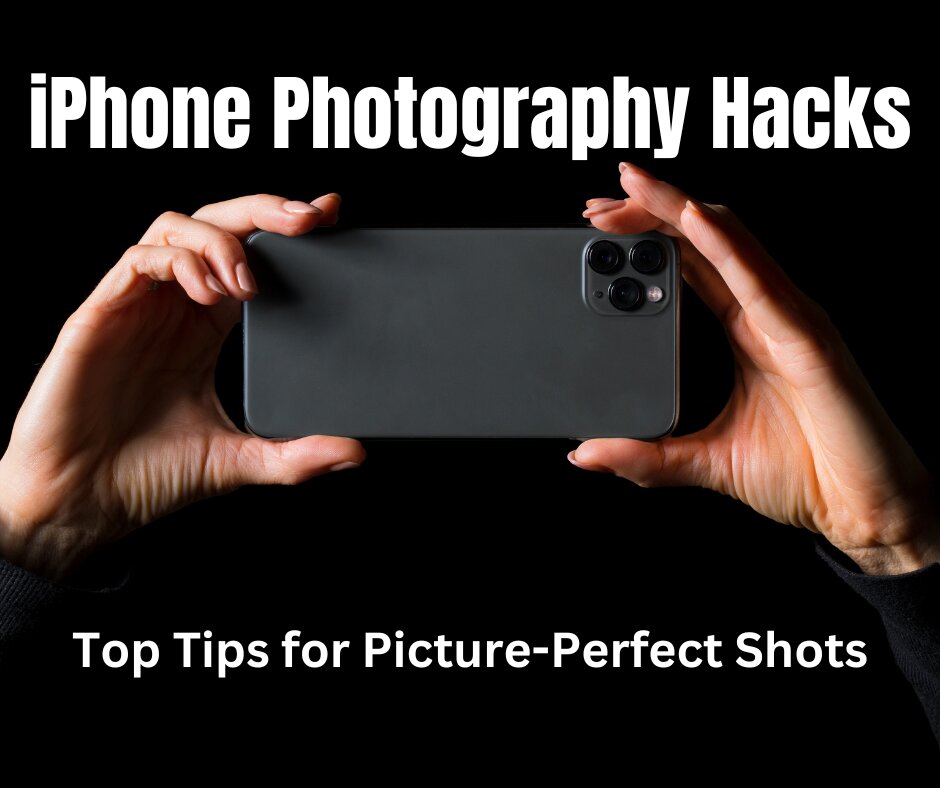
The iPhone has revolutionized photography, putting a powerful camera in the hands of millions. Whether you have the latest iPhone or an older model, there are several tips and tricks to elevate your photography game and make the most of your device’s camera. Below are the top iPhone camera tips that will help you easily capture professional-looking photos.
Composition is key to great photography, and one of the best ways to improve it is by turning on the grid feature in your iPhone camera settings. The grid divides the screen into nine equal parts, following the "Rule of Thirds" — a classic photography principle. This rule suggests placing your subject along these grid lines or at the intersections, creating more balance and allowing your photos to naturally draw in the viewer's eye.
How to Enable Grid:
Go to Settings > Camera > Grid and toggle it on.
Relying on auto-focus and auto-exposure doesn’t always produce the best results. To take control, tap the screen where you want to focus. This will lock the focus and exposure on that point. You can also manually slide your finger up or down on the screen to adjust the exposure, brightening or darkening your shot as needed.
Pro Tip: Use this feature for backlit photos or when shooting in challenging lighting conditions to ensure your subject is perfectly exposed.
One of the standout features of iPhones with dual or triple-lens systems is Portrait Mode. This mode uses depth sensors to create a bokeh effect, keeping the subject sharp while blurring the background. It’s perfect for portraits, close-ups, and even product shots. Additionally, you can edit the depth effect after capturing the photo to increase or reduce the level of background blur.
Portrait Mode Tips:
Ensure there’s enough distance between the subject and the background for a more pronounced blur.
Experiment with different lighting effects within Portrait Mode to create mood and drama.
Night Mode, available on recent iPhone models, allows you to capture detailed and sharp images in low-light environments. The camera automatically activates Night Mode when the lighting is dim, and it uses a longer exposure time to let in more light. This feature works best when your hand is steady or the iPhone is placed on a tripod, reducing motion blur.
Tips for Night Mode:
Hold the camera still or use a surface to stabilize your phone.
Use a tripod for long-exposure shots, especially for capturing movement like stars or city lights.
Capturing fast-moving subjects like kids, pets, or sports events can be tricky. Burst Mode helps solve this by taking a rapid sequence of photos with just one press. Simply hold down the shutter button, and the iPhone will snap multiple shots in quick succession. Afterward, you can review the sequence and choose the best shot(s).
Burst Mode Use Cases:
Action-packed scenes like sports or dancing.
Candid moments where the right expression or gesture might be fleeting.
Live Photos bring your images to life by capturing 1.5 seconds before and after you press the shutter. This feature allows you to preserve motion and sound, adding context to your still photos. Live Photos can also be turned into short video clips, GIFs, or used to choose the best frame from the sequence.
How to Enable Live Photos:
Tap the Live Photo icon at the top of the camera screen before taking a picture.
To view the motion, press and hold the image in your photo gallery.
HDR (High Dynamic Range) is a feature that merges three different exposures into one photo, balancing highlights and shadows for a more evenly lit image. This is particularly useful for high-contrast scenes like landscapes or situations where the sky is bright, but the foreground is darker. When enabled, the iPhone’s camera will automatically take multiple exposures and combine them into a well-balanced image.
When to Use HDR:
Scenes with bright skies and dark shadows.
Photos taken during sunrise or sunset.
High-contrast environments like forests or cityscapes.
If you have a newer iPhone model, you likely have multiple lenses at your disposal, including ultra-wide, wide, and telephoto lenses. Each lens serves a different purpose:
Ultra-wide: Great for landscapes and large groups.
Wide: Ideal for everyday photography.
Telephoto: Perfect for zooming in without losing quality, useful for portraits or distant subjects.
As simple as it may sound, keeping your lens clean is essential for clear, sharp photos. Fingerprints, dust, and smudges can lead to blurry or hazy shots. To maintain optimal clarity, regularly wipe your camera lens with a soft, microfiber cloth.
Your iPhone camera doesn’t just take great photos—it also comes with powerful editing tools. After capturing your image, use the built-in editor to adjust brightness, contrast, sharpness, and more. Additionally, you can use third-party apps like VSCO or Snapseed to add professional-grade filters and effects.
Editing Tips:
Don’t overdo filters—natural edits often look better.
Use the “Auto” enhance feature as a starting point, then fine-tune your adjustments.
Conclusion
The iPhone camera offers a wealth of features that, when used correctly, can help you take stunning photos. From mastering focus and exposure to exploring Portrait Mode and Night Mode, these tips will allow you to make the most of your iPhone’s camera and capture breathtaking images. Happy shooting!


